
Well, not really that definitive actually… Before we jump into the details, I have to admit that I fully expect this post get outdated very soon. The collaboration features that have been released with GA of PowerBI 2.0 on July 24th 2015 are still not very refined and are very likely to become much more robust with time. However, I have observed a lot of confusion with respect to all these new features and, therefore, I decided to explain how they work and what some of the best practices might be moving forward.
Let’s define the basic building blocks of Power BI first.
Datasets, Reports and Dashboards
There are three basic types of content in Power BI.
Datasets are reporting models with attributes and measures (calculations) that a user can EXPLORE and build different types of visualizations. Datasets can also be RENAMED, DELETED and REFRESHED.

Reports are collections of PAGES. One page consists of a canvas that is used to view/edit charts and a Filter (in View mode) or Visualizations / Fields panes (in Edit mode). Reports are interactive – when you click on different elements of a chart, the rest of the report will update to reflect the relative contribution of the element that has been selected (or filtered on)
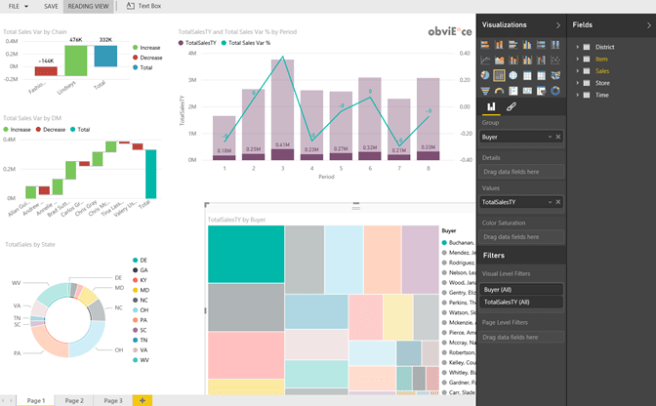
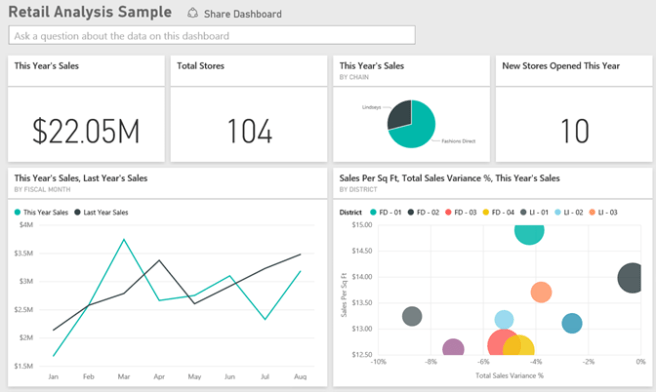
Dashboards are a collection of tiles that are pinned from Reports by mouse over the desired chart and clicking on the Push Pin Icon
Tiles can be rearranged and resized.
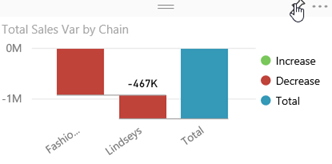
Dashboards are not interactive the same way the reports are, they cannot be filtered. Clicking on a dashboard tile will bring up the report that the tile was originally based on.
Where do we store Dashboards, Reports and Datasets?
Currently, there are two options. When you login to the service (http://app.powerbi.com) and then click on My Workspace

You will have two options for storing your content:
- My Workspace
- Groups

When you log in for the first time, you may not see any groups. You can create one by clicking on the + sign next to GROUP WORKSPACES. This will give you an option to create a new group, specify its name and id, the type of a group (Private or Public) and if it’s Private, specify its members.

Creating a group creates an Office 365 group with all of the collaboration artifacts (OneDrive, mailbox, etc.). While any user can create a group, only the administrator can delete one in Office 365 Portal. Therefore, don’t create a group unless you are sure you need one.
You can only be in the “My Workspace” area OR in a single group workspace at a time. There is no way to move content between groups and/or your personal workspace. There is no concept of Folders at the time of this writing (although I suspect that all these shortcomings will be addressed fairly soon).
If you have a large number of content elements to sort through, you can use the Filter Content option to search:

When you are in a group workspace, every member of the group can make changes to group content (datasets, reports, dashboards). Content stored in your personal workspace can only be edited by you.
So how do I organize everything in Power BI?
Any content that will need governance or will potentially reach a large number of users should be stored in a group workspace. Content that does not require much collaboration and governance can be stored in your personal workspace. Another thing to consider is that a personal workspace is limited to 10GB in the Pro version. So is each group… However, every new group gets another 10GB of storage which makes a group concept even more alluring.
OK, now that I have organized everything, how do I share it?
If you have a dashboard stored in your personal workspace, you can use a Share Dashboard feature

Clicking this button will bring up the screen that will allow you to specify email addresses of the recipients (and also whether they can further re-share this dashboard). Only users within your organizations are allowed to have access to your dashboard. After the dashboard has been shared, the recipients will get an email with a link that they will have to click on to accept the share.
Share Dashboard option is not available for dashboards created in Group workspaces. Also, only dashboards can be shared (reports and datasets cannot).
A better way to share content, and the one that I would recommend, is by creating an organizational content pack.
Organizational Content Pack
You can create an organizational content pack by clicking the gear icon on the top right hand corner of the page

You will then have an option to specify who has access to the content pack, its Title and Description (both are required) and also what dashboards, reports and datasets should be included in it
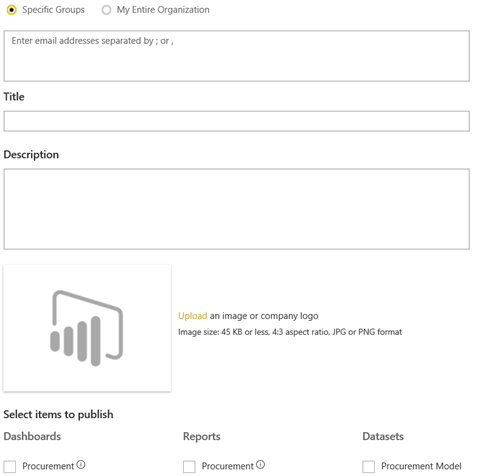
You can specify Dashboards + Reports + Datasets, Reports + Datasets or Datasets only.
You can click Publish button at the bottom of the page to complete content pack creation process.
After the content pack has been published, users with required access will have an option to consume it by clicking on Get Data->Get

And then selecting the content pack from the list

After the content pack has been published you and the group members can continue working on the content pack elements and those changes will not be propagated to the end users automatically. In order to push the updated content to end users you need to click on View Content Pack option

And then click Edit

And then click on Update button again.

Great write-up – first time I have come across a clearly explained example of how to use the sharing abilities. Looking forward to more on your blog
Awesome description. Thanks.
I am eager to learn how we should setup co-authoring on pbix files with the desktop client? I don’t think it is currently possible.